
In this article, we will show you the first step necessary to convert part of an existing Blueprint to C++. The first step is to create a C++ class that will be used as the new Blueprint parent class.
The player will be represented in our project by the Blueprint FirstPersonCharacter that is part of the First Person template of Unreal Engine. But we want some of its logic to be in a C++ class.
To discover the Blueprint's parent C++ class, place the mouse over the Blueprint in the Content Browser to display a box with information. The C++ parent class is the one in Native Parent Class. The image below shows the information for the Blueprint FirstPersonCharacter, whose parent C++ class is Character.

We need to create a C++ class of type Character that will become the new parent class of the FirstPersonCharacter Blueprint.
In the Content Browser, access the TutoPart3 folder that is inside the C++ Classes folder. Right-click on free space and choose the New C++ Class... option as shown in the image below.

On the next screen, choose the Character class as the parent class and click the Next button.

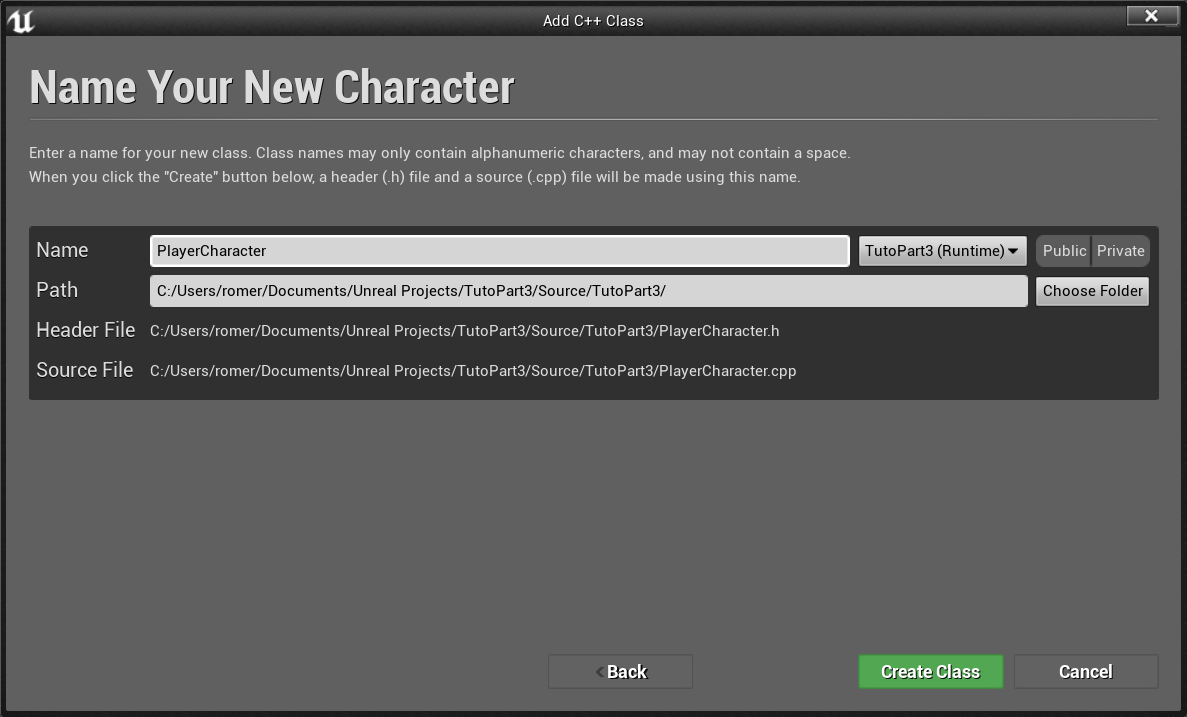
In the Name field, write PlayerCharacter. In the Path field, keep the default project folder. Click the Create Class button.
Now that we've created the C++ class PlayerCharacter, let's modify the Blueprint FirstPersonCharacter to use PlayerCharacter as the parent class.
But first, rename the Blueprint FirstPersonCharacter to BP_PlayerCharacter to keep the name standard that will be used by the other classes in the game. Open the Blueprint and click the Class Settings button. In the Parent Class property, search for and select the PlayerCharacter class as shown in the image below.

Compile and save the Blueprint.
In the next article, we will convert part of the script of this Blueprint to the C++ class PlayerCharacter.